
This section describes how to install the core components of LANDesk Asset Lifecycle Manager.
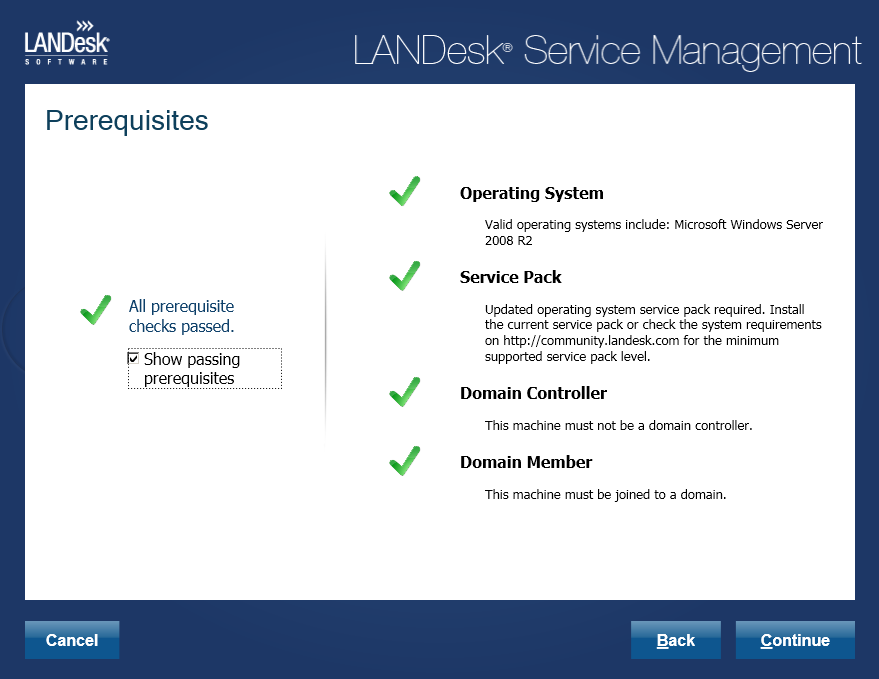
The instructions assume you've set up the necessary requirements for a successful installation. If you have not completed the prerequisites described in the system requirements section, return to that section to make sure your system meets all of the hardware and software prerequisites. For details, see Understanding and meeting system requirements.
Read this section to learn about:
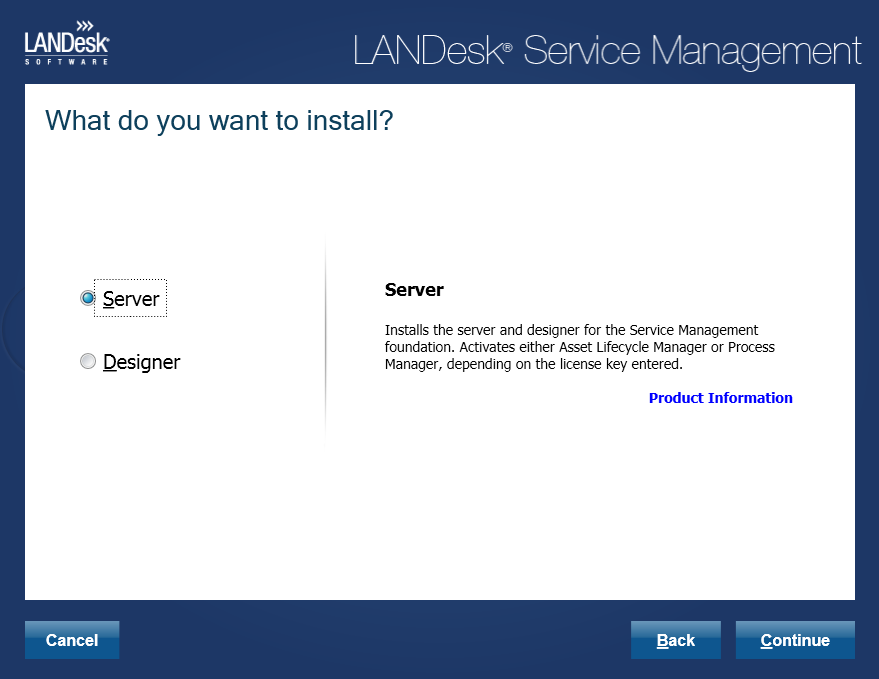
The ALM server is the center of your IT asset and process management system. It contains all the key files and services required for LANDesk Asset Lifecycle Manager.
The Design console provides system administrators with a convenient interface where they can perform IT asset and process management tasks (creating asset definitions, process workflows, forms, and report views); configure system settings (mail, users/groups, LDMS core server connections, third-party PIM integration, roles, and scopes); and launch the Web console.
To install Asset Lifecycle Manager, you must be logged on as an Active Directory domain user, with system administrator rights on the server as well as rights to create a container on the database.
IMPORTANT: Turn off the User Account Control setting
Before installing LANDesk Asset Lifecycle Manager components, turn off the User Account Control. To do this, go to Settings > Control Panel > User Settings, and set the User Account Control setting to Off. It is turned on by default. If you don't change this setting to Off, you will be prompted for permission when each executable is run by the setup program, and you won't be able to start the console. Once the installation has completed, you can return to the User Settings dialog box and re-enable User Account Control.
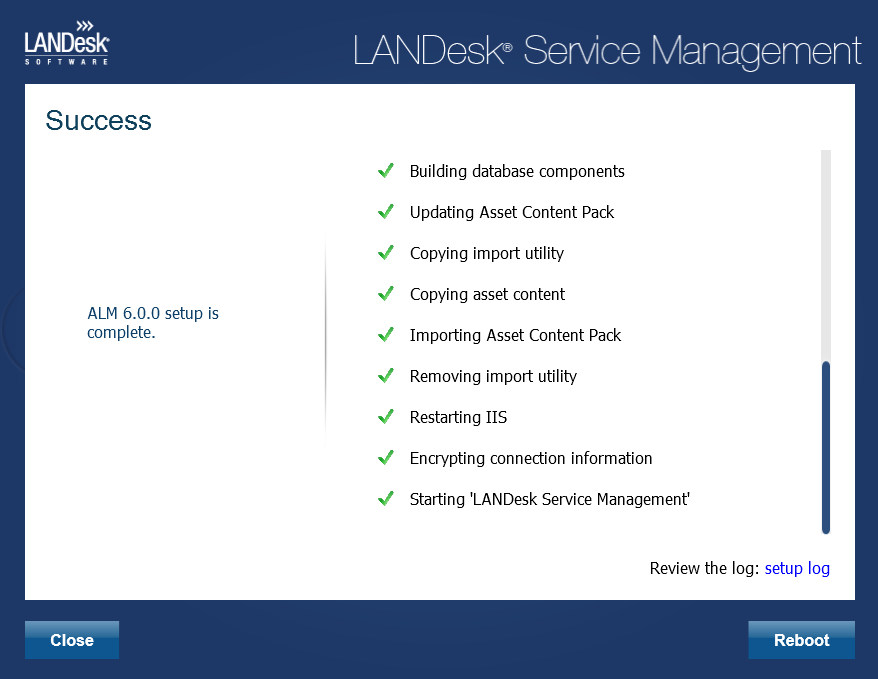
You've now finished installing LANDesk Asset Lifecycle Manager components. The final step in the Setup process is to complete the license activation procedure.
Before launching the console, complete these final setup tasks. For detailed instructions, proceed to:
If you want to install only the ALM Design console component on a separate computer other than the server, run Setup on that computer and choose the Designer installation choice. You can install multiple remote consoles.
NOTE: If you install multiple consoles, keep in mind that the Design (Windows) console in LANDesk Asset Lifecycle Manager only supports one language at a time. Thus, you should not install the Design console on one machine in English and on additional consoles in Spanish; all consoles must be in the same language.
To install the Design console on a workstation, you must have administrator rights on that workstation.
Make sure the computer meets the console system requirements. For details, see "Selecting the console computer" in "Understanding and meeting system requirements".
If you're installing LANDesk Asset Lifecycle Manager in a network environment that already has LANDesk Management Suite installed, and where a LANDesk core server and database are used to manage your devices, you need to be aware of the following integration issues.
With LANDesk Asset Lifecycle Manager, you can import and synchronize asset data from external data sources, including LANDesk Management Suite. For information, refer to the Asset Manager's Guide.
For LANDesk Asset Lifecycle Manager to properly work with LDMS 9.0 (or above), three LANDesk services must be configured with domain logon credentials.
If you don't change the logon credentials for these services, the LDMS message-based SDK won't be able to properly make call-backs to the ALM server.
Was this article useful?
The topic was:
Inaccurate
Incomplete
Not what I expected
Other